The tint film is the timeless solution to give your windows a high-profile look, providing you with protection against sunlight and outside glares. Over time, careless use and negligence in maintenance can result in scratched, discolored, or bubbled surfaces. To replace the damaged or scratched one with a new one, you can remove it from your automobile’s windows.
Whether it’s a visibility issue or simply a change of style, you can DIY remove this tint film from your windows effectively. This comprehensive and detailed guide by Fixit Auto Glass covers different methods to take off the tint from your vehicle safely and effectively.
Steps By Step Tutorial To Remove Tint From Your Vehicle’s Windows
The faded and scratched tints on your vehicles can affect appearance and functionality, resulting in an inconvenient driving experience. You’ll need to remove the damaged tints to enhance the resale value of your car. In addition to that, if you’re moving to another state with strict tinting laws for security regulations, tinting films need to be removed from windows.
Steam & Scraper
The steaming and scraping method involves the use of a steamer for effective removal. Here’s how you can do it effectively:
Gather Tools & Materials
- Steam Cleaner
- Razor Blade/ Sharp Knife
- Glass Cleaner
- Sponge Or Cloth
- Garbage Bag
1. Prepare Your Vehicle
For the steaming process, you’ll need to park your vehicle in any sunny spot so that it can warm the tinted windows. Open your vehicle’s door so that you can reach out the top of the window and also have access to the inside of your windows.
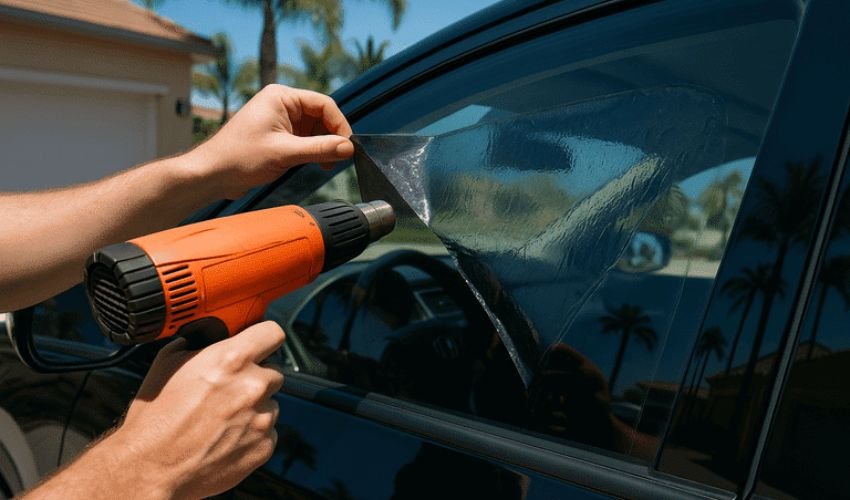
2. Steam The Tint
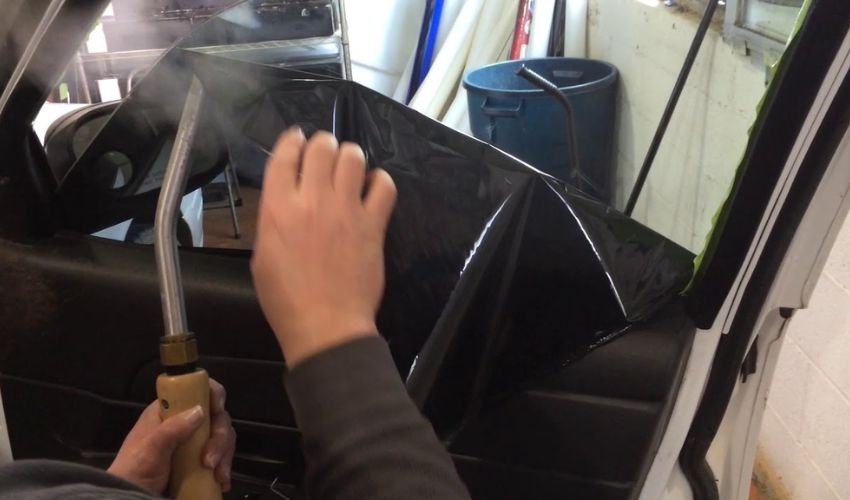
Any handheld clothing steamer can work for this project which you can hold against the windows at least 1-2 inches away. Apply steam to both inside and outside of the windows while working in long and sweeping motions from top to bottom. Make sure to heat the pane of window glass evenly.
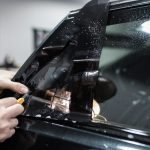
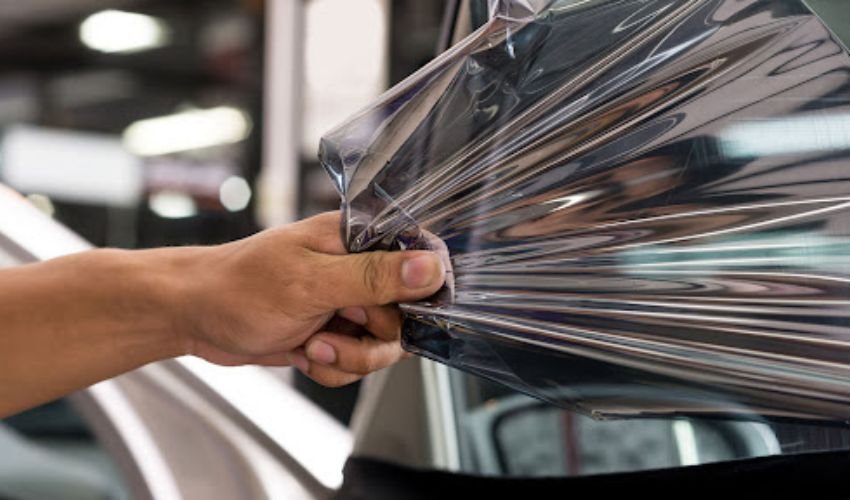
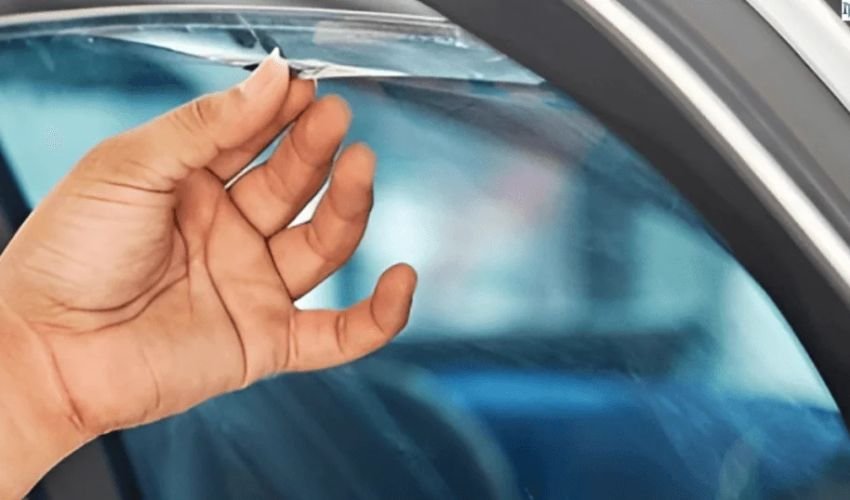
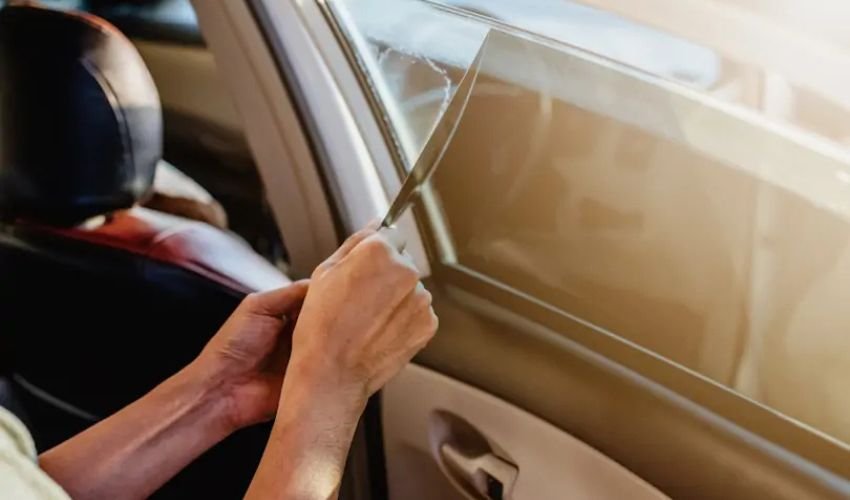
3. Peel The Tint
The steaming process will dissolve the tint adhesive and it will begin to melt. Now use the straight razor blade to lift the edges, making it easier to pull off. Keeping the thin film flat against the window glass, slowly remove the tint. If the tint corner doesn’t come up, you can steam against that portion.
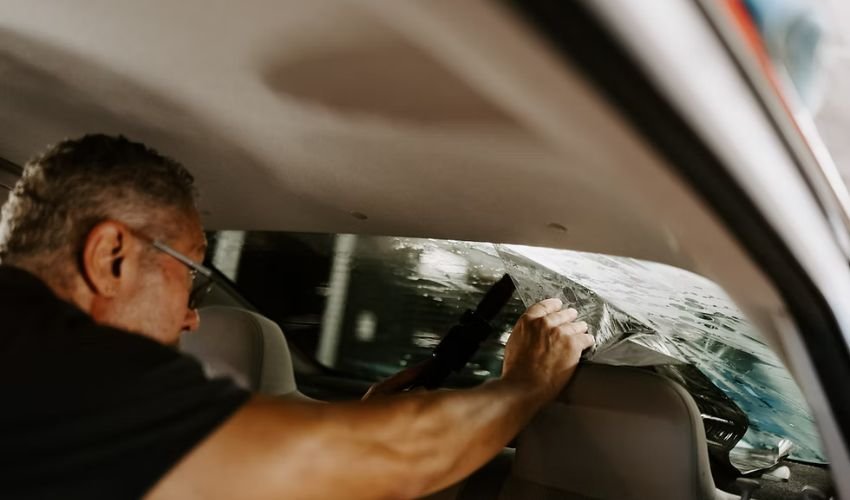
4. Remove The Adhesive
Continue peeling until the entire film is taken off, now’s the time to remove any stains or adhesive from the window glass. You can either use a sharp knife to get rid of the sticky residue or make a soapy solution for this purpose.
5. Clean The Window & Dispose Of Tint
Make a soapy solution using water or vinegar or use a commercial glass cleaner to clean the window. Spray the solution over the glass and use a microfiber cloth to wipe off all kinds of dust particles or stains from adhesive materials. After removal, throw that tint film in the garbage bag.
Ammonia And Sunlight
Another method to get rid of the window tint film from your automobile is ammonia and sunlight which softens the tint to be taken off easily.
Gather Essential Supplies
- Ammonia Solution
- Spray Bottle
- Plastic Wrap
- Razor Blade Or Knife
- Glass Cleaner
- Sponge Or Cloth
- Garbage Bag
1. Prepare Your Car
Ammonia solution can damage the panels or frames of your vehicle’s windows. That’s why it’s essential to mask your vehicle’s door panels with any kind of plastic sheet and tape it in place to secure it. Never use newspaper or any other paper material as ammonia will get absorbed in them. Make sure to cover the electrical components like wires, switches, and speakers as well. Cut plastic garbage bags to the same window size to cover your vehicle windows from all sides.
2. Spray The Ammonia
Mix the ammonia solution with water and add it to the spray bottle. Spray the solution over the tinted area working from top to bottom. Cover the area with plastic wraps to ensure the solution won’t dry out quickly.
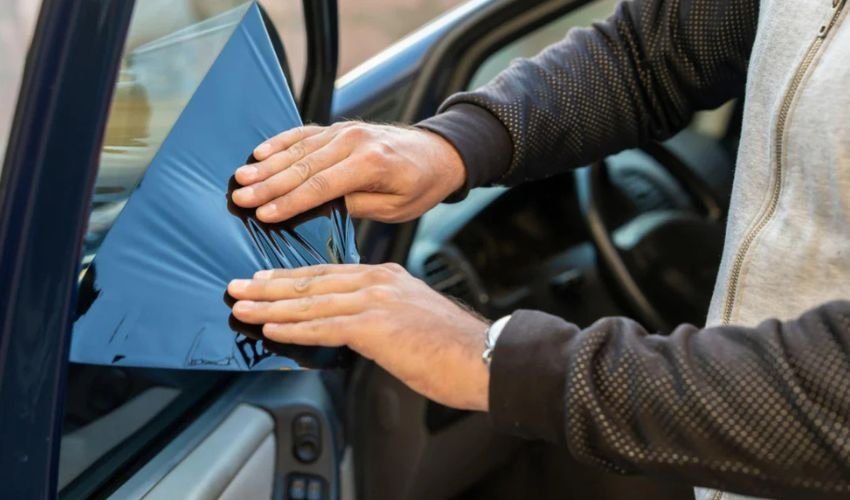
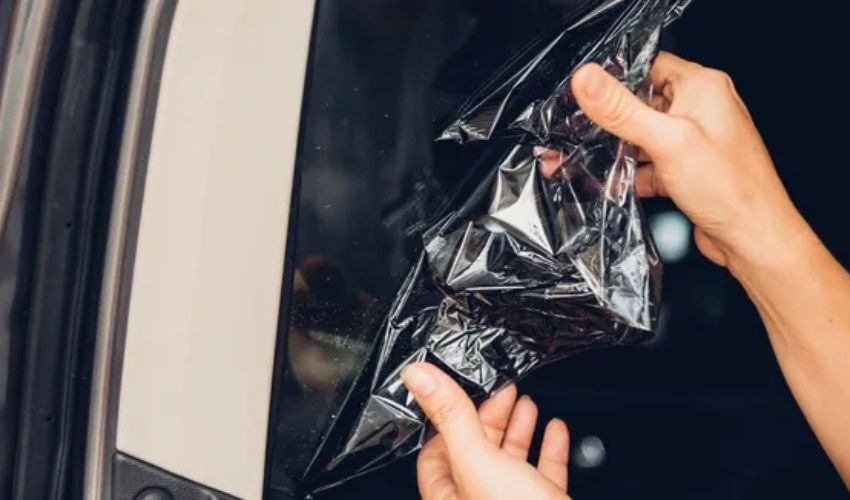
3. Let It Sit & Peel The Tint
Let the plastic wrap on for about 30-45 minutes until the window becomes saturated. This technique will allow the ammonia to penetrate and effectively soften the adhesive. After the allocated time, start peeling the tint film slowly. If it doesn’t come out, go for re-application of ammonia and let it sit for a specific duration.
4. Remove The Tint Adhesive
Once the tint is removed from windows, use a razor blade to scrape off the adhesive material. Also, you can use a commercial adhesive remover solution to eliminate any spots of this adhesive material.
5. Clean Window & Dispose Of The Tint
Lastly, clean your windows using a soapy solution made with water, vinegar, or a mild amount of commercial detergent for effective cleaning. Wipe off the soapy solution using a sponge or a microfiber cloth. Also, don’t forget to dispose of the removed tint film in the plastic bag.
Some Safety Measures
Here are the safety precautions to follow:
- To avoid any kind of injury, make sure to wear gloves when using a sharp razor or blade.
- Make sure to wear masks if you are allergic to dust, or debris, or sensitive to odors.
- When using ammonia/ adhesive remover, work in a ventilated area to not inhale fumes.
Verdict!
Removing window tint from your car is a tedious process and it requires utmost attention and the availability of tools to achieve professional-looking results. To remove tint from the windows of your vehicles, there are two different methods available including steaming and scrapping or ammonia and sunlight.
Whether you select ammonia sunlight or the steaming process, be cautious to use the tools and materials effectively and to take your time to not damage the appearance of your windows. Also, if you are doubtful of doing this tint removal job yourself, you can seek professional assistance to get the job done most efficiently and effectively.