Tinted car windows have been in trend for a long time now. Window tints add a certain sophistication and luxury to your car. A car with tinted windows exudes such a mystical aura that people turn around to get another look. Besides, tinted windows are not only about enhancing the looks of the car. A tint on your windows will serve multiple purposes.
Firstly, car tints provide privacy to the driver and the passengers. Moreover, tinted windows provide protection against the harmful UV rays that filter in through ordinary windows. This ensures comfort and also improves fuel economy. If you have also been planning on getting your vehicle windows tinted, we have got you all the help you will need.
Let’s take a look at the step by step guide of how to install tint on a rear car window flawlessly.
Installing Tint on a Rear Window | Step by Step Instructions
Tinting the rear window of your car will enhance both its comfort and style.
Prepare The Window
You should always begin car tinting by cleaning the area and then preparing your window for installation. A clean surface is essential to make sure that there is no dust or debris to mess with the process or the flawless finishing of your window tint. We recommend working in a clean indoor garage.
- So, start by removing any dirt, dust, and grease from your space.
- Next, you should vacuum the entire interior of your vehicle so that it will be free of dust and dirt.
- Then, move onto the preparation of your window and wipe it clean to get rid of any contaminants.
- Remove stickers and the adhesive residue from the window by using a mild cleaning solution. You can also create your own cleaner by mixing soap and water in a spray bottle.
- Make sure to use a big spray bottle and spray the cleaning liquid onto the window. Now, use a sponge to thoroughly wipe the window. Make sure to clean the sides, edges, seal, and the bottom.
- Use a soft squeegee to wipe off the residue liquid and spots of dirt. Make sure that you reach all points to achieve a squeaky clean surface for tint installation.
- As the last step in prepping your window, use a microfiber cloth to dry the surface completely, and don’t forget the edges.
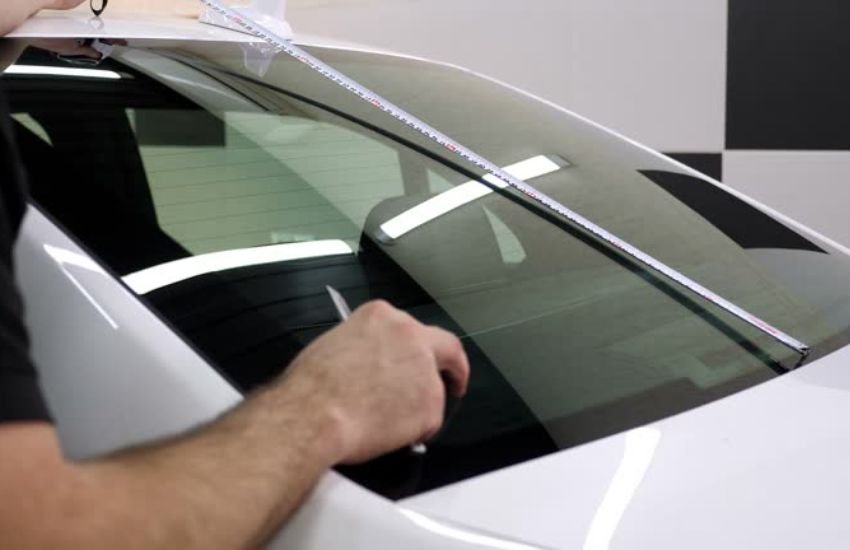
Measure The Tint Film
- Now, begin unrolling the film with its sticky side toward you.
- Then, spray the water and soap solution onto the outside of the window and put the tint film on it carefully for measurement. Make sure to place the tint film in a way that it covers the whole window. Leave 2 to 3 inches extra from the edges.
- Measure the size of the window in reverse by keeping the adhesive side to face you. Don’t remove the protective liner yet.
Cut The Tint Film
- Once you have measured the correct size of the window, you can get on with cutting the film. Make sure that you cut it cleanly and don’t roughen up the edges.
- Now, get that spray bottle and spray the front of the film with it (not the sticky side, the sticky side should still be facing you. The soapy water will make the film stick to the window without the need for any adhesive.
- Again, take your knife and cut the film from the bottom and the sides.
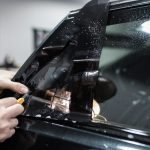
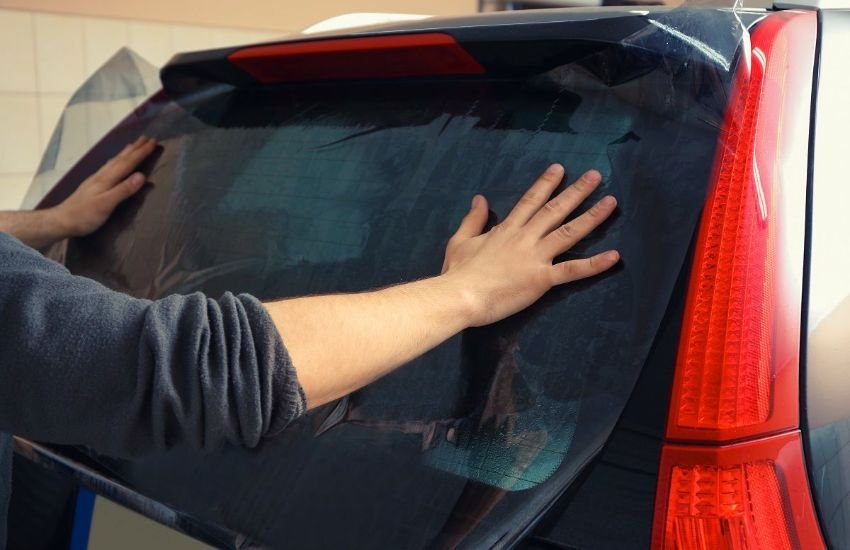
Apply The Tint Film
- Now comes the application of the tint to the rear window of your vehicle.
- Spritz the inside of the rear window with the soapy water that you mixed up.
- Start taking off the top half of the protective liner from the tint film’s adhesive side.
- Now, spray the tint film’s exposed adhesive side with the soapy water.
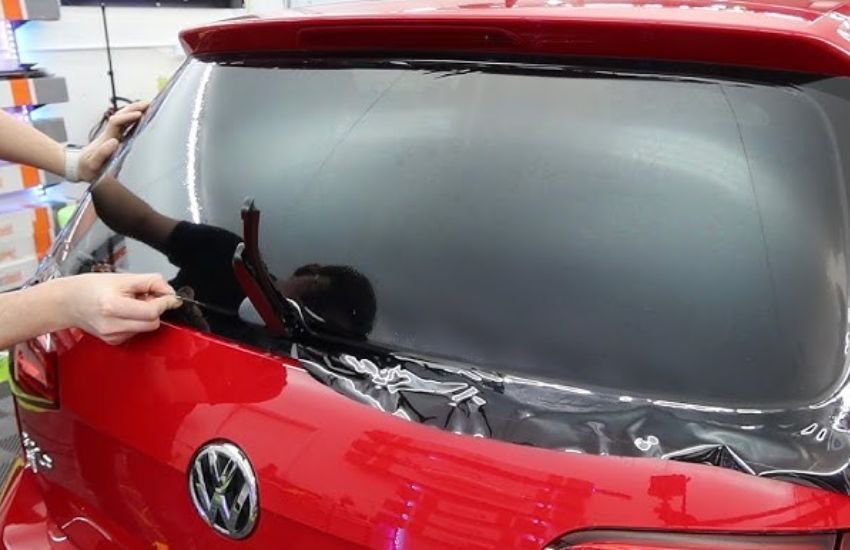
- Start scraping the creases and bubbles under the tint film using a squeegee or an old card.
- Spray the water again if it begins to dry out.
- Once you have securely and correctly applied the tint film and scraped out any bubbles and creases, repeat the same process with the bottom half of the tint film.
- Don’t forget using the soapy water to keep the surface wet.
- Once you reach the edges of the window, you will need to tuck the tint film in with the card to secure it.
- Now spray the soapy water again to remove any creases and bubbles and you’re done. Start working from the centre and proceed outwards.
You have now successfully installed tint on the rear window of your vehicle.
We recommend leaving it untouched for 48 hours so that it sticks on securely. After that you can take your car out for a ride.
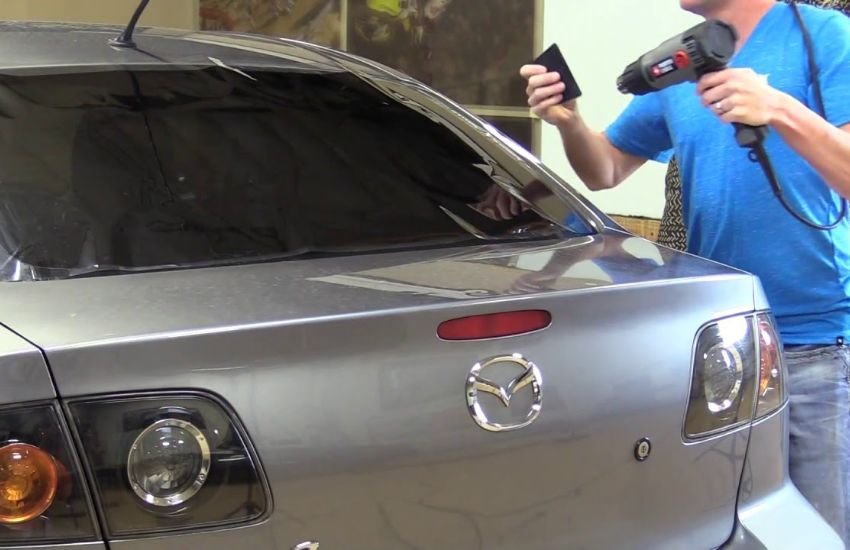
Aftercare
When 48 hours have passed and the tint film has fully dried, you can clean it with a microfiber cloth and mild soapy water to give it a squeaky clean look.
Strictly avoid using ammonia-based products and cleaners because they can damage the tint film.
Now, your car is good to go. Have fun!
Why Does My Vehicle’s Rear Window Need A Tint?
Installing a tint on your vehicle’s rear window has several benefits. A tinted rear window will keep you from the intruding eyes of the people and offer necessary security, as well. Furthermore, the tint film keeps the rear window glass from shattering in case of any accident.
A lot of people prefer tinted rear windows because they protect the vehicle against the sun’s glare and UV rays. Protection against the sun means reduced heat, which will keep your car’s interior nice and cool.
Moreover, a tinted rear window will protect your belongings. It will keep any potential thieves from looking inside your car and searching for any valuables. This means that your car stays safe from any intruders in parking lots.
Conclusion
Tinted windows along with a tinted rear window will make your car appear more deluxe and add to its value as well. It will also protect the interior of your car and keep your seats from losing their color over time due to constant exposure to the sun’s mean glare. Lastly, the wide variety of tint films in the market offers you the freedom of choosing a tint that is better suited for your budget.